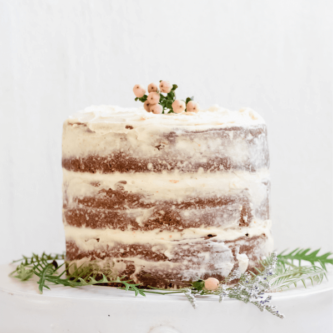
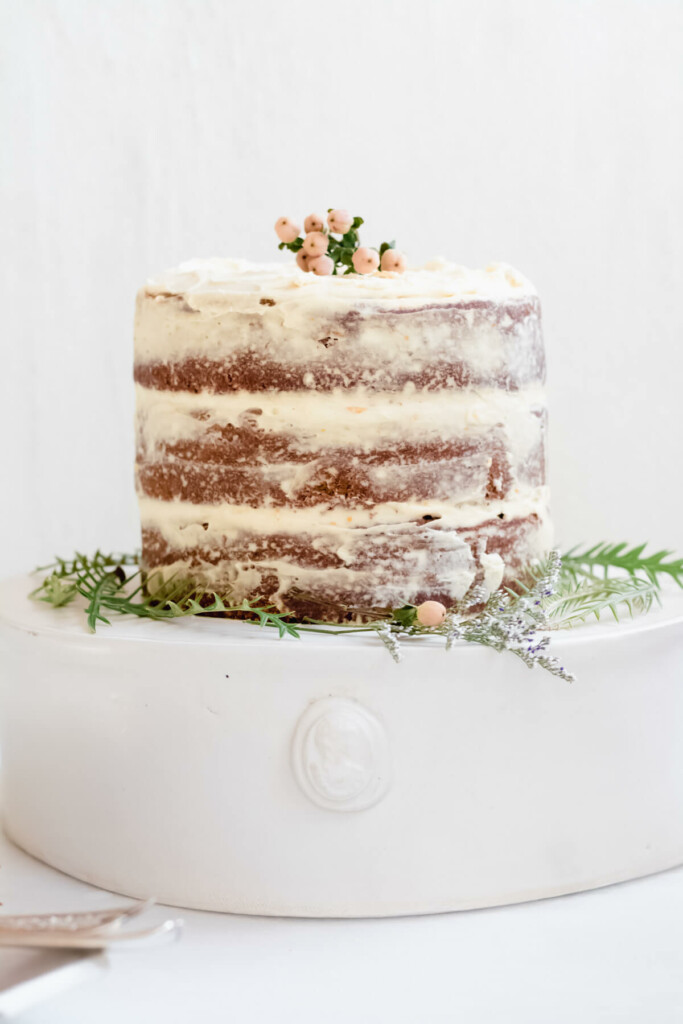
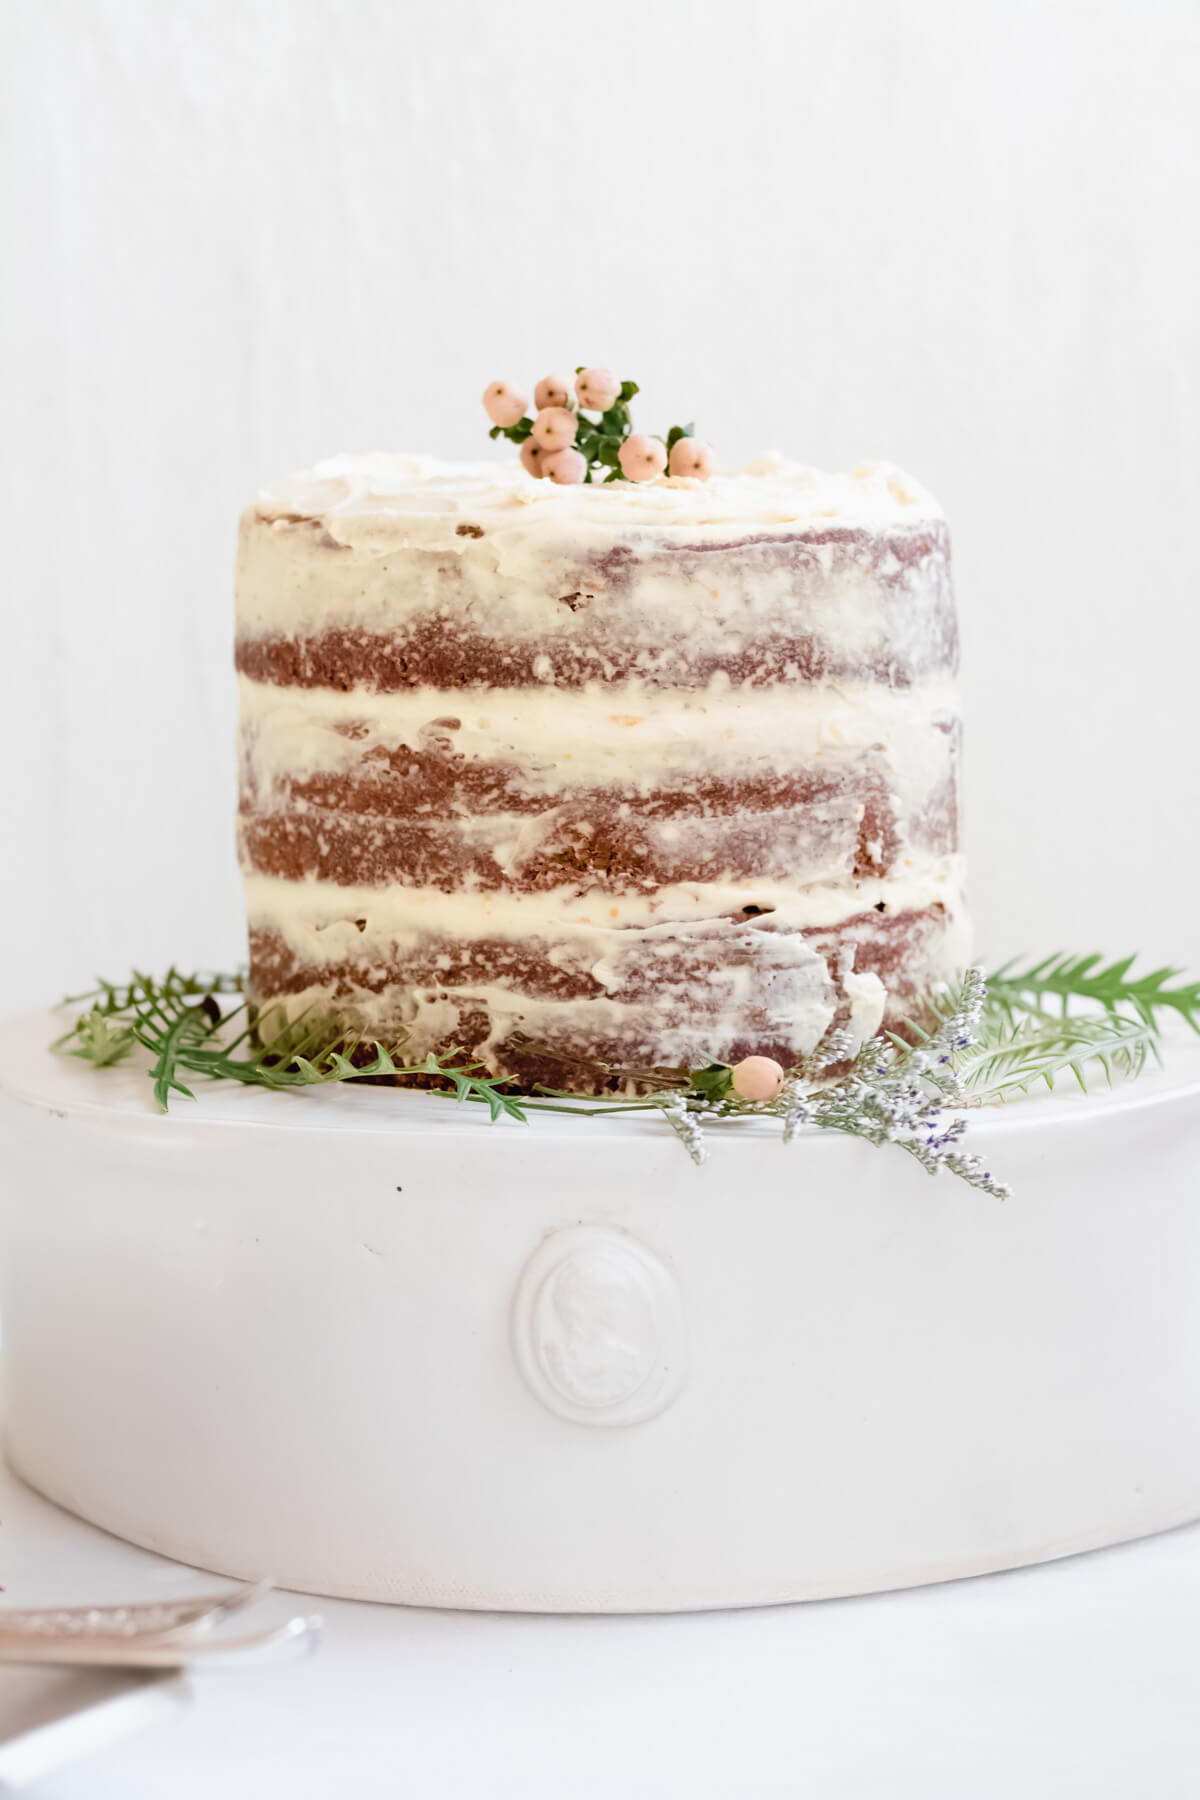
Today is the day you discover your new favorite cake. A sweet potato cake that is richly flavored with maple syrup and nutty brown butter with hints of ginger and bright orange layered between thick maple cream cheese frosting. Gluten-free and refined sugar-free, this cake is about to blow your mind!
If you like this cake you should also try lemon olive oil cake and the best ever healthy carrot cake.
If you like this cake you should also try lemon olive oil cake and the best ever healthy carrot cake.
The holiday season is here and what better way to herald in the season than with a gorgeous cake!! But I beg of you, do not pass this off as just “another cake”. Oh no my friend, this cake is a blow-your-mind layered masterpiece of deliciousness.
I know fall and holiday is typically filled with pumpkin delicacies and you know I am #TeamPumpkin (I even campaign for pumpkin season to last all the way through December each year!) but sweet potato deserves a place at the table too.
Like pumpkin, sweet potatoes are orange-fleshed, sweet and earthy. Pro-tip, adding sweet potato to just about any baked good makes it better. These are just #Facts!
You can try my sweet potato pineapple muffins or my very popular sweet potato cinnamon bread as proof!
Ok… let's get cooking because it is time to make some cake.
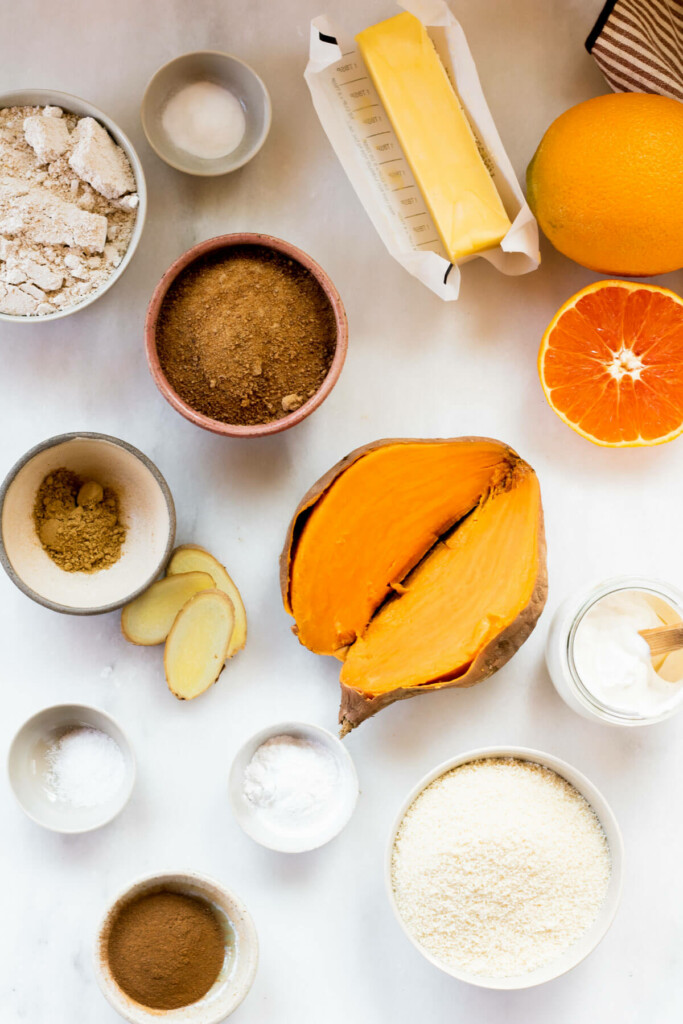
INGREDIENTS and SUBSTITUTIONS
Detailed measurements and ingredients can be found within the recipe card at the end of this post.
- Sweet Potato – Scoop the flesh from baked sweet potatoes, you will need a total of 1.5 cups or about 2 large sweet potatoes. I have found that steamed sweet potato is too wet, and baked is just dry enough to help create a moist cake. I love meal-prepping baked sweet potato ahead of time using this simple baked sweet potato recipe.
- Almond Flour – A staple ingredient in my baking pantry. Almond flour is made with ground almonds and maintains the same health perks of almonds; good quality healthy fat, protein, fiber, and vitamin E.
- Rolled Oats or Oat Flour – I make my own oat flour by grinding rolled oats in a blender, but you can absolutely use oat flour instead. Be sure to look for certified gluten-free oats if you are gluten-free.
- Eggs – Large eggs (ideally pasture-raised organic eggs)
- Butter – Good quality butter. This recipe only has a few ingredients, it's important that every ingredient is packed with flavor. I love finding local butter or when in doubt my favorite store-bought butter is Kerrygold.
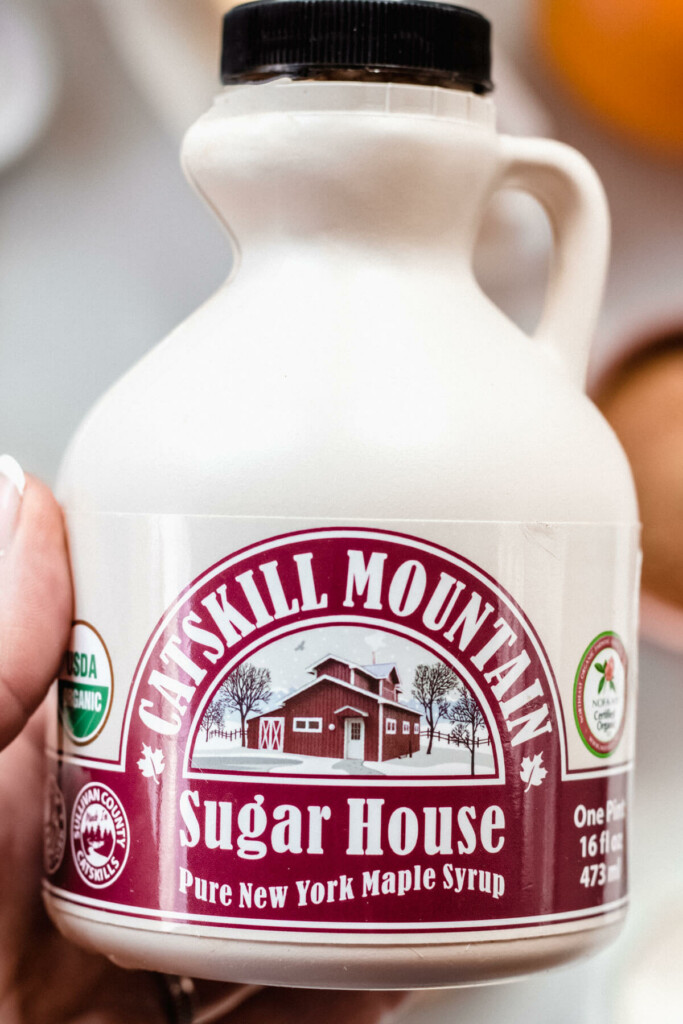
- Maple Syrup – I used a local AMAZING maple syrup – Catskill Mountain Sugar House Organic Maple Syrup, you can grab a holiday-sized jug (ahem… the largest size possible!) on Shop Taste NY
- Coconut Palm Sugar – Brown sugar will work fine as a substitute if you don't have coconut palm sugar.
- Full Fat Yogurt – I used a thicker style Skyr yogurt in this recipe, and would recommend either Skyr or Greek style.
- Cream cheese – for the cream cheese frosting or if you are dairy-free you can substitute
- Baking Essentials – Baking powder, baking soda, vanilla extract, and salt
- Spices – Fresh orange zest, cinnamon, and ground ginger
TOOLS YOU WILL USE
- Electric Mixer
- Mixing Bowls
- Zester/ Microplane
- Spatula
- 6″ Cake Pans – you will need 3 alternatively you can use two 9″ cake pans
INSTRUCTIONS
Super detailed instructions can be found within the recipe card at the end of the post but the following is a visual tutorial of how to make this epically delicious sweet potato cake
- You are going to start out with a baking hack – get ready!
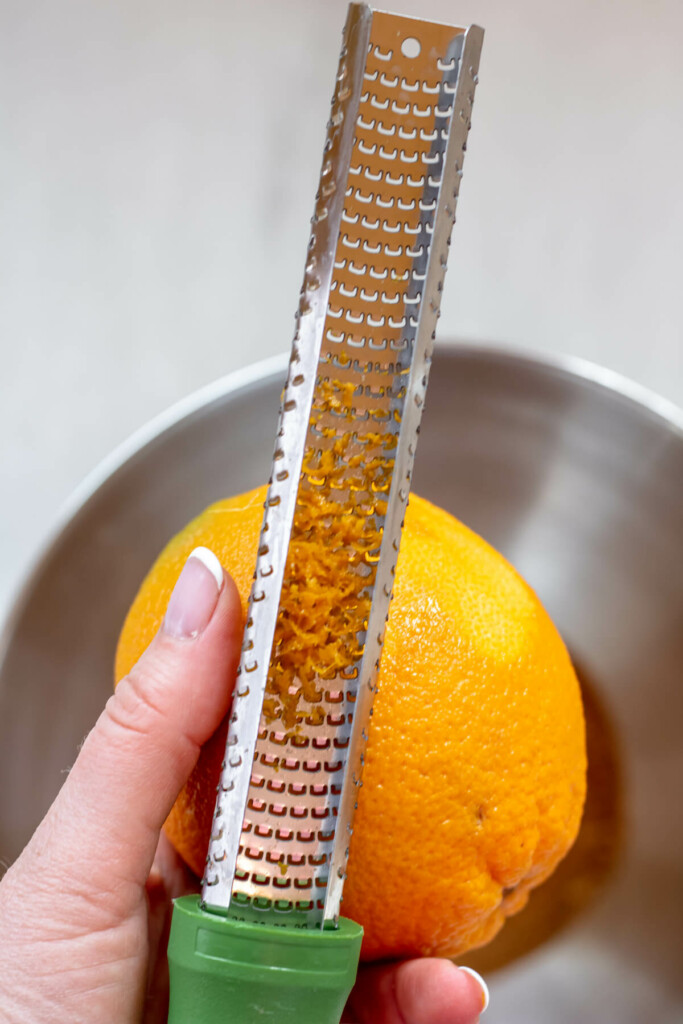
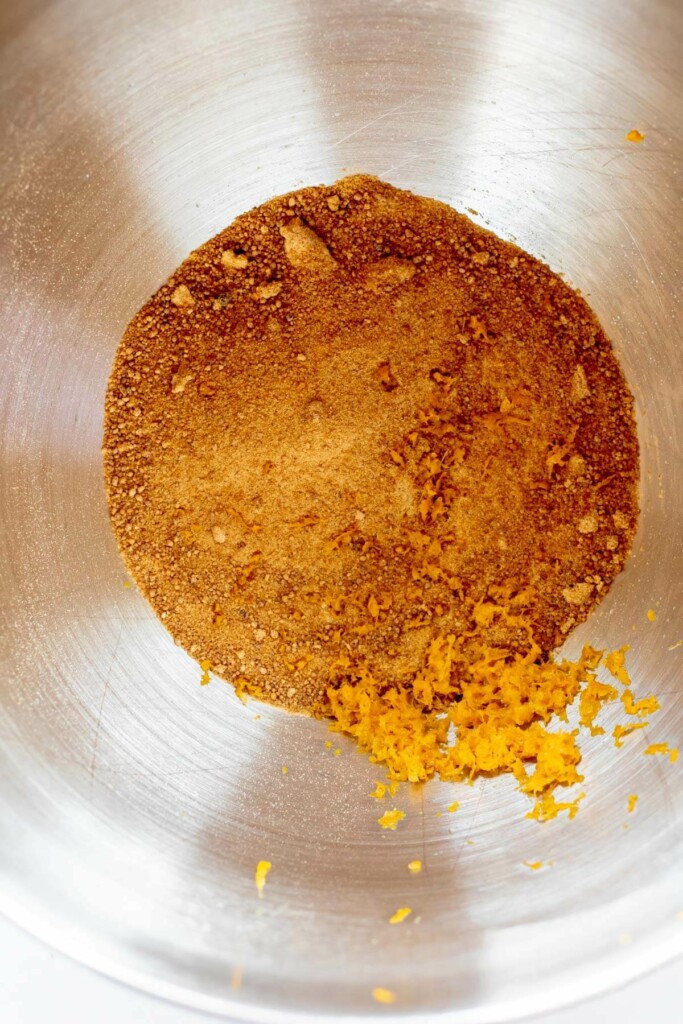
- Zest the orange and mix it into the coconut palm sugar. You can use your hands to really mix it in or a wooden spoon, but make sure the zest is evenly distributed in the sugar. This should smell amazing!
ZEST HACK!
Typically citrus zest is added to a baked good recipe with the wet ingredients, but I found that the zest typically clumps and ends up getting stuck in the beaters.
By mixing the zest into the sugar ahead of time you are ensuring every little zest bit will remain in the final product.
This is 100% worth doing!
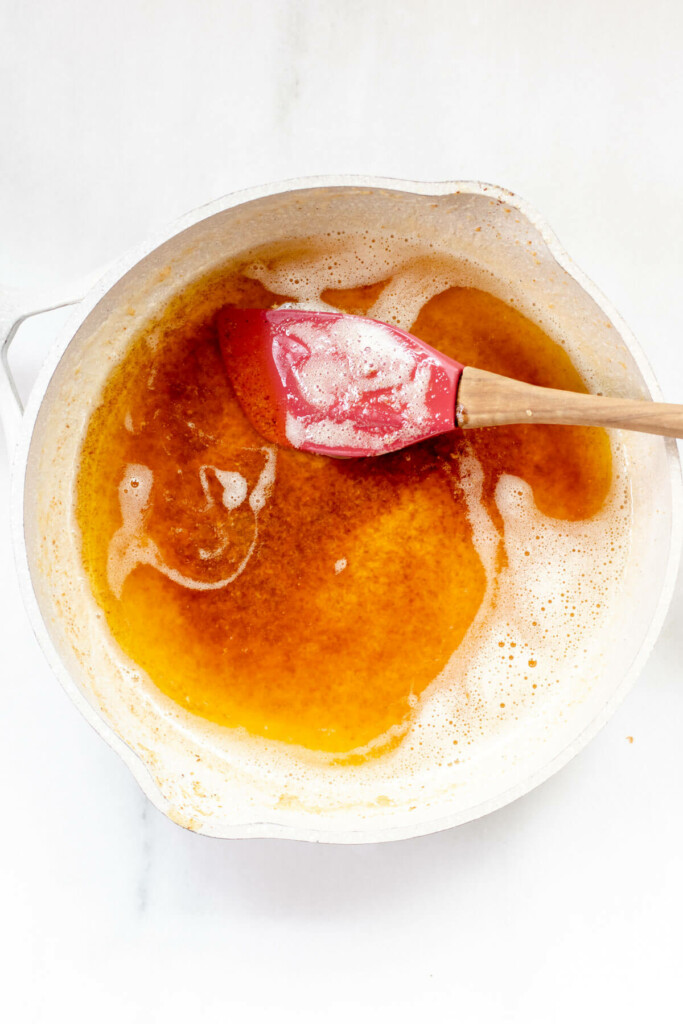
- Next make the brown butter – In a small saucepan over medium heat brown butter. This is best to do in a light colored pan so you can see when the butter is browned. Place the butter in your pan. Begin stirring to move the butter around as it melts, I use a wooden spoon or spatual for this. Once melted, the butter will begin to foam and sizzle around the edges. Keep stirring. In about 5–8 minutes from when you started (depending on the amount of butter you used), the butter will turn golden brown. The foam will slightly subside and the milk solids on the bottom of the pan will toast. It will smell buttery, nutty, and rich.
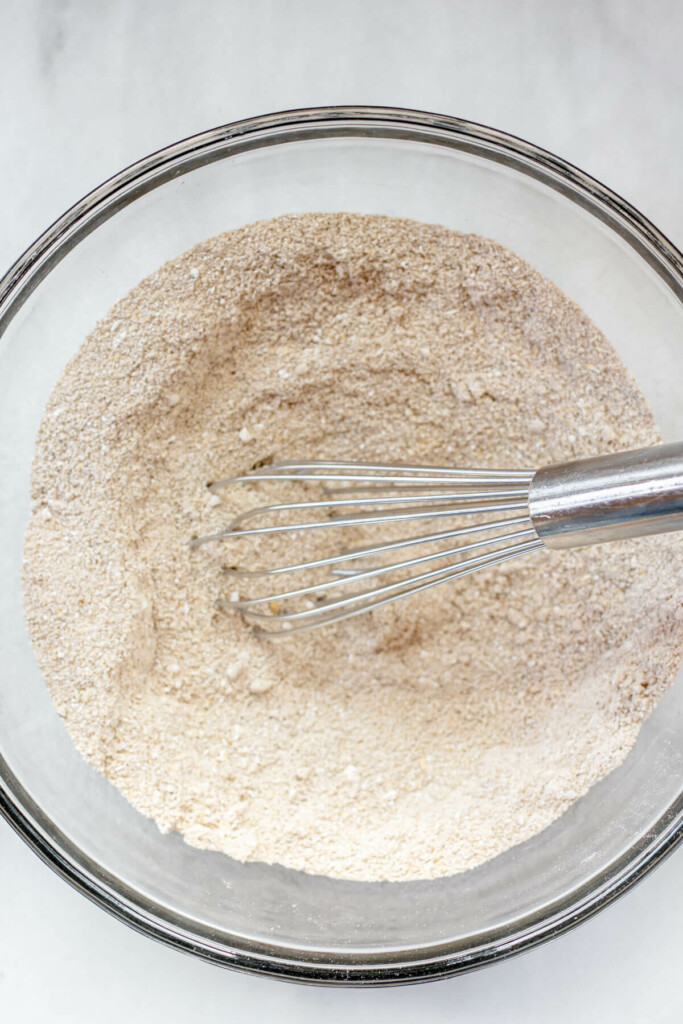
- In a medium sized bowl whisk together dry ingredients until well combined, set aside.
- In the bowl of a mixer add coconut palm sugar and orange zest. Using your hands or a spatula, mix well so the zest is incorporated into the sugar. You should smell an amazing burst of orange.
- In the bowl of a mixer add coconut palm sugar and orange zest. Using your hands or a spatula, mix well so the zest is incorporated into the sugar. You should smell an amazing burst of orange.
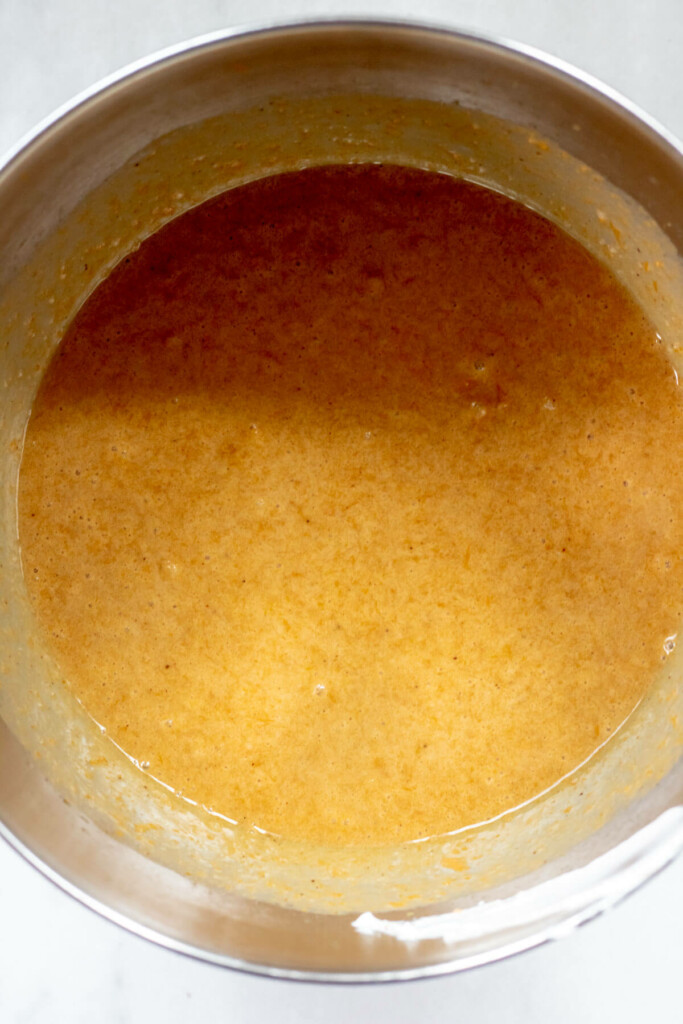
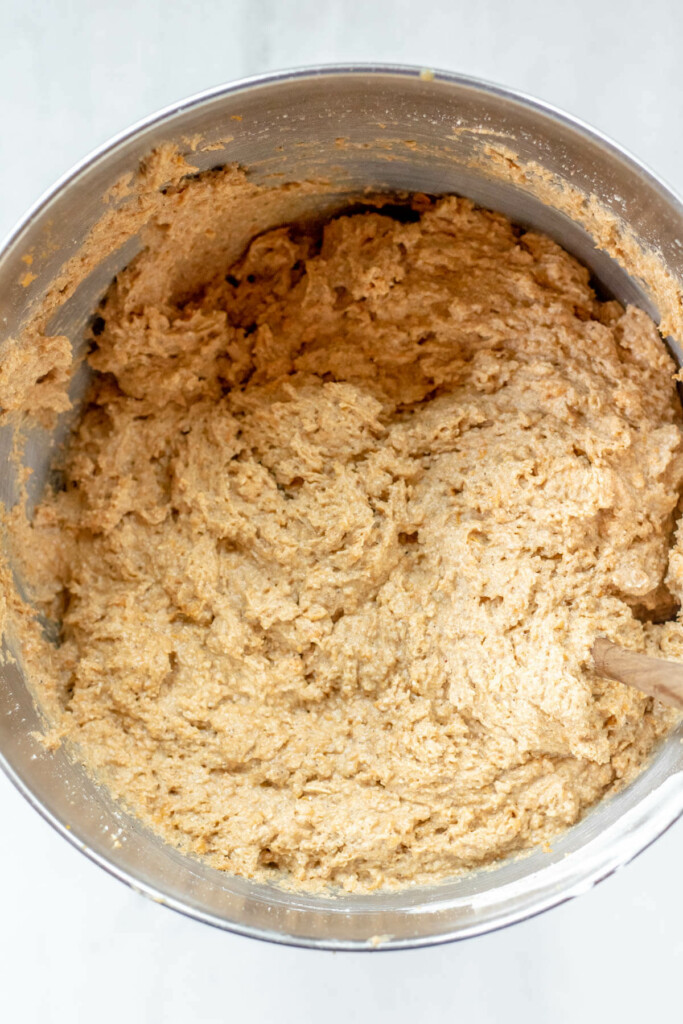
- Add dry ingredients into butter sweet potato mixture in thirds, alternating with the yogurt. Beat on low speed until just incorporated.
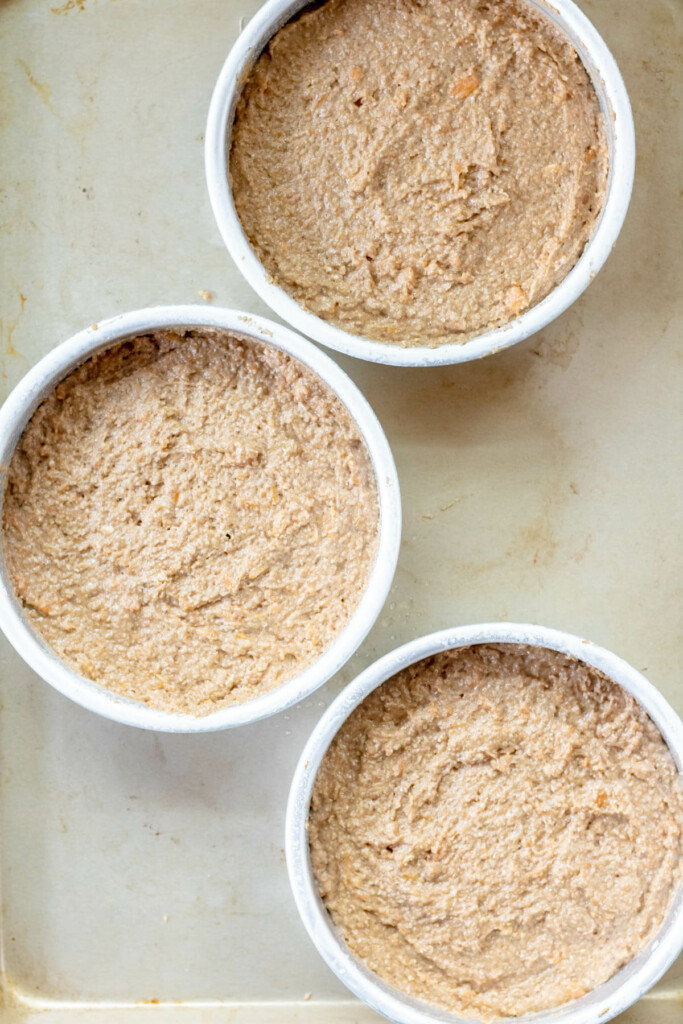
- Divide batter evenly between pans. Bake at 350° for 40-50 minutes or until a toothpick inserted into the center of the cake comes out clean.
- Allow cake to cool in pans for 15 minutes, then invert onto a cooling rack and cool completely.
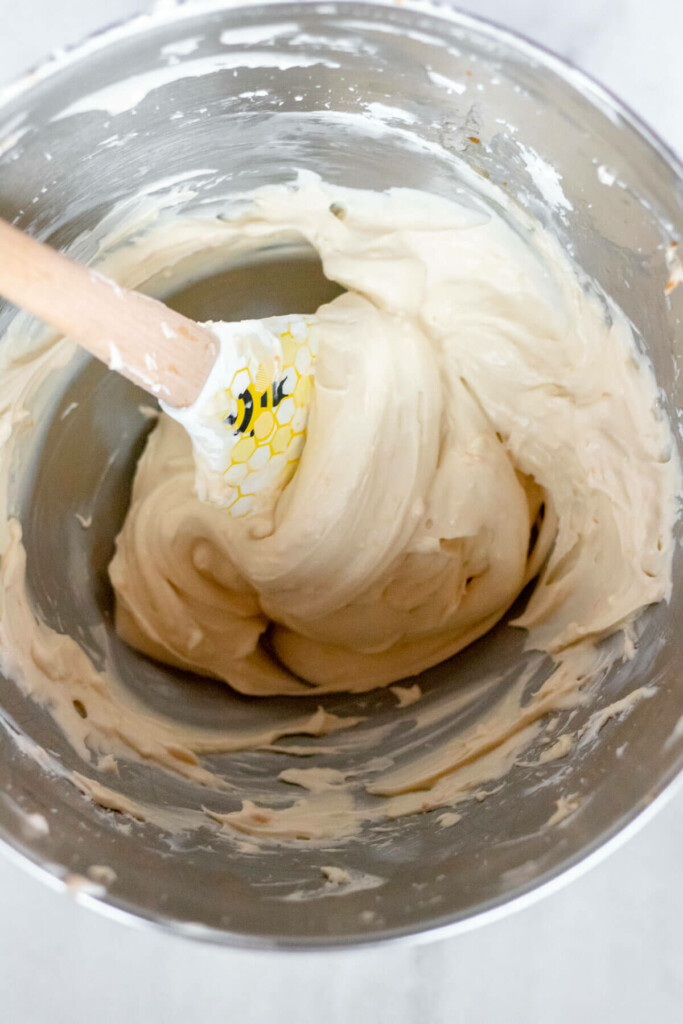
- Make the maple cream cheese frosting – In a large bowl using a hand-held mixer or stand mixer fitted with a whisk or paddle attachment, beat room temperature cream cheese with maple syrup until light and fluffy.
- Place one cake layer on your cake stand or serving plate. Spread 1/3 of the frosting evenly on top. Top with 2nd cake layer and evenly cover the top with another 1/3 of the icing. Top with the 3rd cake layer. Spread the remaining frosting on top and all around the sides using an icing spatula. Use a bench scraper to smooth out the frosting on the sides of the cake. Decorate with flowers, or dried orange slices and orange zest.
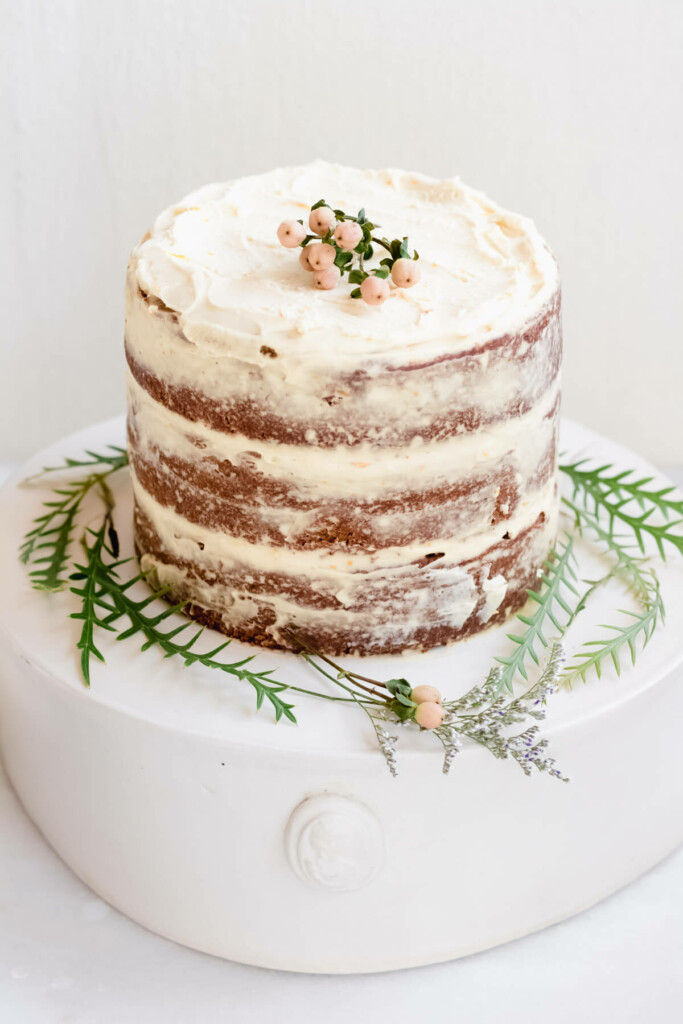
RECIPE TIPS – Creating a beautiful Naked Cake
What Is a Naked Cake?
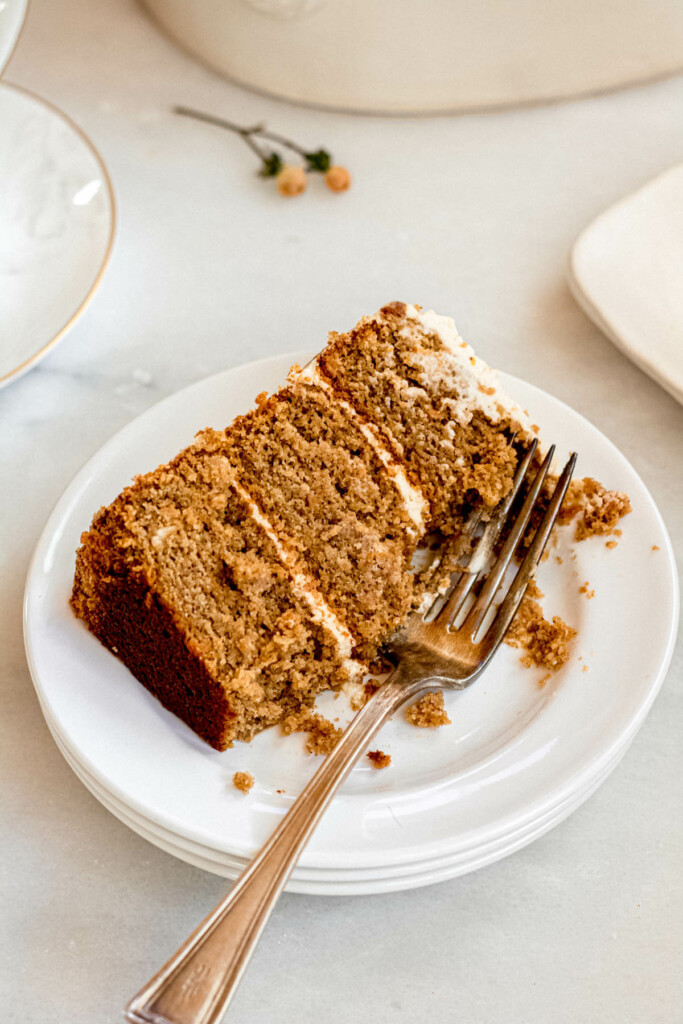
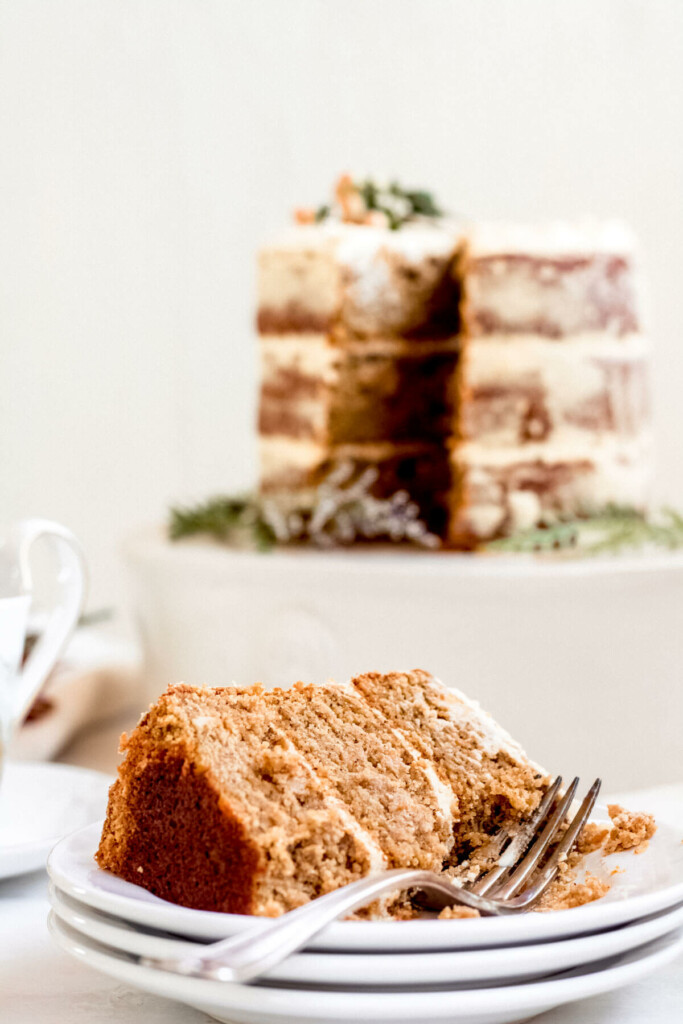
Naked cakes, with minimal frosting on the outside, expose the cake layers and filling. I started noticing this trending cake idea a few years ago on the wedding, shower, and party scene… but mostly on Instagram. This style of cake decorating is 100% my aesthetic, minimal, chic, a little rusting, and easy! Milk Bar owner Christina Tosi is credited with starting the trend back in 2013 when she began highlighting the cake layers, instead of just the frosting. Now naked cakes are a bakery staple!
I recommend using a straight spatula and a bench scraper to effectively achieve the naked cake look.
STORAGE/REHEATING/FREEZING INSTRUCTIONS
- Storage – Store (wrapped or under a cake dome) for 1-2 days on the counter or up to 7 days in the refrigerator
- Freezing – When I was testing this recipe I ended up with SEVERAL layer cakes in my house of only 2 people! I polled my helpful followers on Instagram about what to do with all of the cake and many of you shared that you freeze cake all the time successfully! Well, I'll be! I've only ever heard of freezing wedding cake but apparently freezing cake is a thing. So the long answer is yes, you can absolutely freeze this cake, I currently have several slices in the freezer.
NUTRITION NERD CORNER 🤓
New York Maple Syrup – The Hero of the Holidays!
I have partnered with Shop Taste NY to introduce you to some truly incredible local New York products. Today I am sharing a brand that has been a staple in my kitchen for years! Catskill Mountains Sugar House Maple Syrup. A family-owned and operated sugar house located just 20 miles north of my little farmhouse.
I am OBSESSED with this maple syrup. It is found in all of the local grocery stores near me, used in some of the top restaurants in NYC and now you can get a bottle too! Simply order a jug on Shop Taste NY (may I recommend the largest size available?)
Sourcing locally grown food helps the local economy, reduces energy consumption, incentivizes the protection of open spaces and provides fresher foods.
And above all else please don't mistake “pancake syrup” for maple syrup. Pancake syrup is nothing more than a big bottle of High Fructose Corn Syrup (HFCS – a four-letter word!) Yes, maple syrup is more expensive. The amount of work that goes into one little pint of maple syrup is extraordinary. They need to collect 40 buckets of sap to yield ONE bucket of syrup. It is worth every penny.
Unlike white sugar, maple syrup is rich in minerals like manganese (an important mineral for immunity and anti-oxidant activity) and zinc. So although it is still a sweetener and should be treated as such (a-hem moderation) maple syrup is certainly a better option than plain white sugar. I love baking with maple syrup, adding it to salad dressing, using it in cocktails, and of course pouring it all over my fall-inspired breakfast pancake stacks.
DIETARY MODIFICATIONS FOR THIS RECIPE
This cake is naturally gluten-free and not easily modifiable for other dietary restrictions. Baked goods tend to be harder to alter. This recipe was tested using only the ingredients listed so I can't speak to the success of this cake if you sub out a flour or wet ingredient. However, if you try a different version and it works out I would love to hear about it via the comment section below.
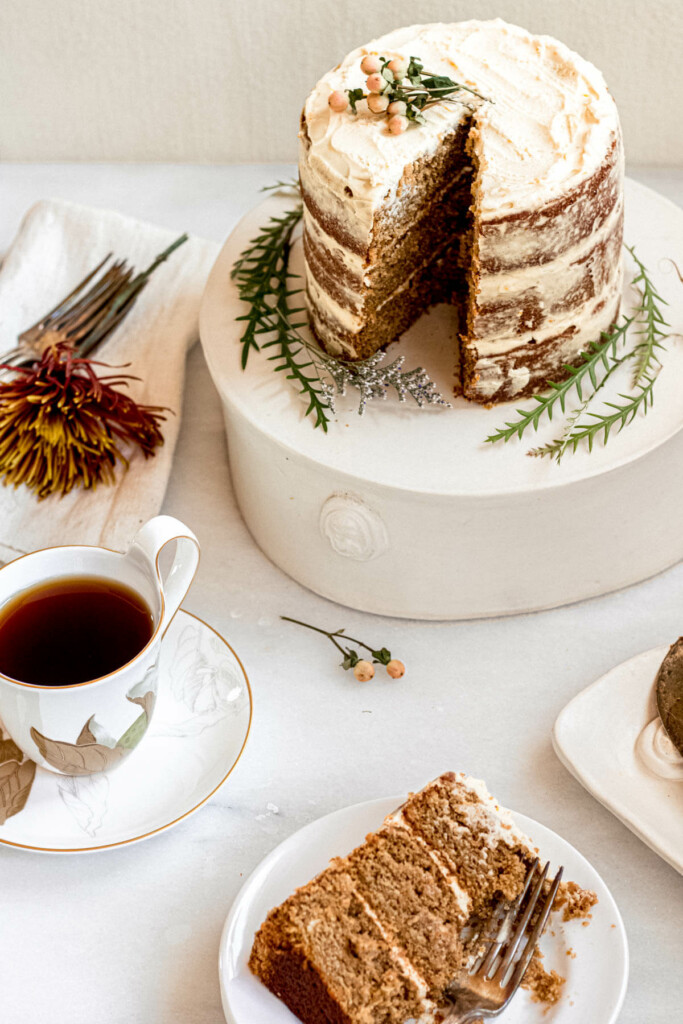
I can’t wait for you to try this Maple Brown Butter Sweet Potato Cake. When you make it, snap a photo and tag me on Instagram @abrapappa or use the hashtag #abraskitchen so I can feature your photo!
If you’ve tried this recipe, don’t forget to rate and leave a comment below. I love to hear from people who’ve made my recipes!
Maple Brown Butter Sweet Potato Cake
Equipment
- 3 cake pans – 6" round
- 1 electric mixer
- 3 Mixing bowls
Ingredients
Dry Ingredients
- 1 1/2 cups almond flour
- 1 1/2 cups oat flour
- 2 1/2 tsp baking powder
- 3/4 tsp baking soda
- 1/2 tsp sea salt
- 1 tbsp ground cinnamon
- 1 1/2 tsp ground ginger
Wet Ingredients
- 3/4 cup coconut palm sugar
- 1 1/2 sticks butter melted 3/4 cup
- 6 tbsp maple syrup
- 3 large eggs
- 2 tsp orange zest
- 1/2 cup yogurt
- 2 tsp vanilla extract
- 1 1/2 cups sweet potato puree
Maple Cream Cheese Frosting
- 8 ounces full fat cream cheese
- 3 tbsp maple syrup
Instructions
- Preheat oven to 350° Prepare cake pans (three 6" pans or two 9" round cake pans) by spraying with non stick spray.
- In a medium sized bowl whisk together dry ingredients until well combined, set aside
- In the bowl of a mixer add coconut palm sugar and orange zest. Using your hands or a spatula, mix well so the zest is incorporated into the sugar. You should smell an amazing burst of orange.
- In a small saucepan over medium heat brown butter. This is best to do in a light colored pan so you can see when the butter is browned. Place the butter in your pan. Begin stirring to move the butter around as it melts, I use a wooden spoon or spatual for this. Once melted, the butter will begin to foam and sizzle around the edges. Keep stirring. In about 5–8 minutes from when you started (depending on the amount of butter you used), the butter will turn golden brown. The foam will slightly subside and the milk solids on the bottom of the pan will toast. It will smell buttery, nutty, and rich. Allow to cool slightly.
- Beat the browned butter and coconut palm sugar together for 2-3 minutes until well combined and creamy. Stop to scrape down the sides of the bowl several times. Add maple syrup and continue mixing. Gradually add eggs, beat on medium for 1-2 minutes until fluffy, scraping down the bowl as needed. Add sweet potato, and vanilla extract. Continue mixing until smooth, scraping the down the bowl as needed.
- Add dry ingredients into butter sweet potato mixture in thirds, alternating with the yogurt. Beat on low speed until just incorporated.
- Divide batter evenly between pans. Bake at 350° for 40-50 minutes or until a toothpick inserted into the center of the cake comes out clean.
- Allow cake to cool in pans for 15 minutes, then invert onto a cooling rack and cool completely.
Maple Cream Cheese Frosting
- In a large bowl using a hand-held mixer or stand mixer fitted with a whisk or paddle attachment, beat room temperature cream cheese with maple syrup until light and fluffy.
Assembling
- Place one cake layer on your cake stand or serving plate. Spread 1/3 of the frosting evenly on top. Top with 2nd cake layer and evenly cover the top with another 1/3 of the icing. Top with the 3rd cake layer. Spread the remaining frosting on top and all around the sides using an icing spatula. Use a bench scraper to smooth out the frosting on the sides of the cake.
- Decorate with flowers, or dried orange slices and orange zest. Cover and store leftover cake at room temperature for 1-2 days or in the refrigerator for up to 1 week.

