If you told me 10 years ago that I was going to be the kind of girl that makes her own body lotion I would have told you, in no uncertain terms, that you were high and that was never going to happen.
Oh younger Abra, you were so silly.
I am, in fact, 100% the girl who makes her own lotion (and sunscreen, gasp!).
It all began a few years ago when I was so frustrated with my skin and it’s unwillingness to cooperate and just be naturally beautiful.

I developed a strange allergy to the sun. Yes, the sun. The incredible result of this allergy was that my face would break out in bumps, little tiny bumps all over my face. Then it spread to my back and upper arms. Not a good look.
The dermatologist wasn’t fully certain it was the sun, but it was his best guess. I was convinced that it had something to do with the various (all organic and “natural”) sunscreens I was using. Even after I was cleared from all chemical sensitivity (according to the allergy scratch tests) I thought at least part of the problem was product related.
Necessity is the mother of invention, so is desperation.
So, I experimented. I stopped using all commercial sunscreen and made my own. I became really conscious of cooling my skin off after being in the sun (cool washcloths are my new best friend), and I dramatically changed all products that I put on my skin.
Within a few weeks, all of the bumps were gone. Poof!
Hmmm… isn’t that interesting, I thought. And then I was hooked. How many more skincare products could I make myself? and how much money could I save making my own skin care??? (please see my last post to understand why this is SOOO important to me!)
So my kitchen turned into a mad science lab for skin care.
Sunscreen I have down to a perfect science and lotion has become a little bit of my specialty 😉
I shared my first few lotion creations with family about a year and a half ago. Little by little the reviews came trickling in:
“Abra, what is in this lotion? My skin has never looked better!”
“Abra, I put this on a random rash and it disappeared in ONE DAY”
“I used all the lotion, I need more! When are you making the next batch?”
And my favorite… from the biggest skeptic ever – my man – Mr. Jordan. Whom, by the way, wouldn’t try my lotion creations until 2 months ago. He resisted for a year then boldly declared:
“I put your lotion on my 42-year-old arm and within 10 minutes it became the arm of a 20-year-old. You’ve got to sell this shit.”
The thing is, it’s not rocket science. It’s just that commercial lotions are full of synthetic chemicals, strange ingredients that I don’t understand, and a ton of fragrance. Some of these chemicals are totally harmless, most are not. Some people can tolerate chemicals, most cannot.
On average women use 168 unique ingredients on their body every day. I use about 5 ingredients. My skin is so much happier than it has ever been. Ever!
After much experimenting below is the recipe that is my favorite blend. There are quite a few DIY lotion recipes on the web and they all follow a pretty simple formula. If you want perfect texture lotion, you will have to be more precise, but if you are like me and are happy with anything that smells good and works you can play around with quantity and ingredients.
Basic Recipe for Homemade Lotion:
1. One part thick butter/oil –
Like shea butter, coconut oil, or cocoa butter (I usually use a combo of all three) – Shea butter is anti-inflammatory, healing and moisturizing. Coconut oil – well if you know anything about me you know I LOVE my coconut oil. It is anti-viral and anti-microbial, is naturally sun protective and an essential ingredient in my homemade lotion. Cocoa butter smells like chocolate and makes me feel like Willy Wonka, so I use it. It’s also high in anti-oxidants and moisturizing.
2. One part neutral oil base –
I’ve used almond oil, avocado oil, olive oil, and my new favorite is apricot kernel oil.
3. Distilled water – a bit, usually around 1/4-1 cup
The use of water is highly debatable, but I’ve found it makes a better texture and I read that without water the lotion will have a harder time penetrating your skin. So I use water. You can use rose water or orange blossom water as an alternative.
4. Beeswax – 4-8 ounces
This helps to lock moisture into your skin and provides a protective barrier.
5. Essential oils – A few drops
If you want your lotion to smell good, I use a variety of scents – peppermint, lavender, orange, grapefruit. I have found that citrus and lavender is my favorite combo. Although cocoa butter and peppermint makes a pretty outstanding smelling lotion too.
You can play with the ingredients until you find a formula that you like. I found that I like my lotion to be a little thinner, not super duper thick and not terribly oily. It will naturally have a thicker spread than most commercial lotions.
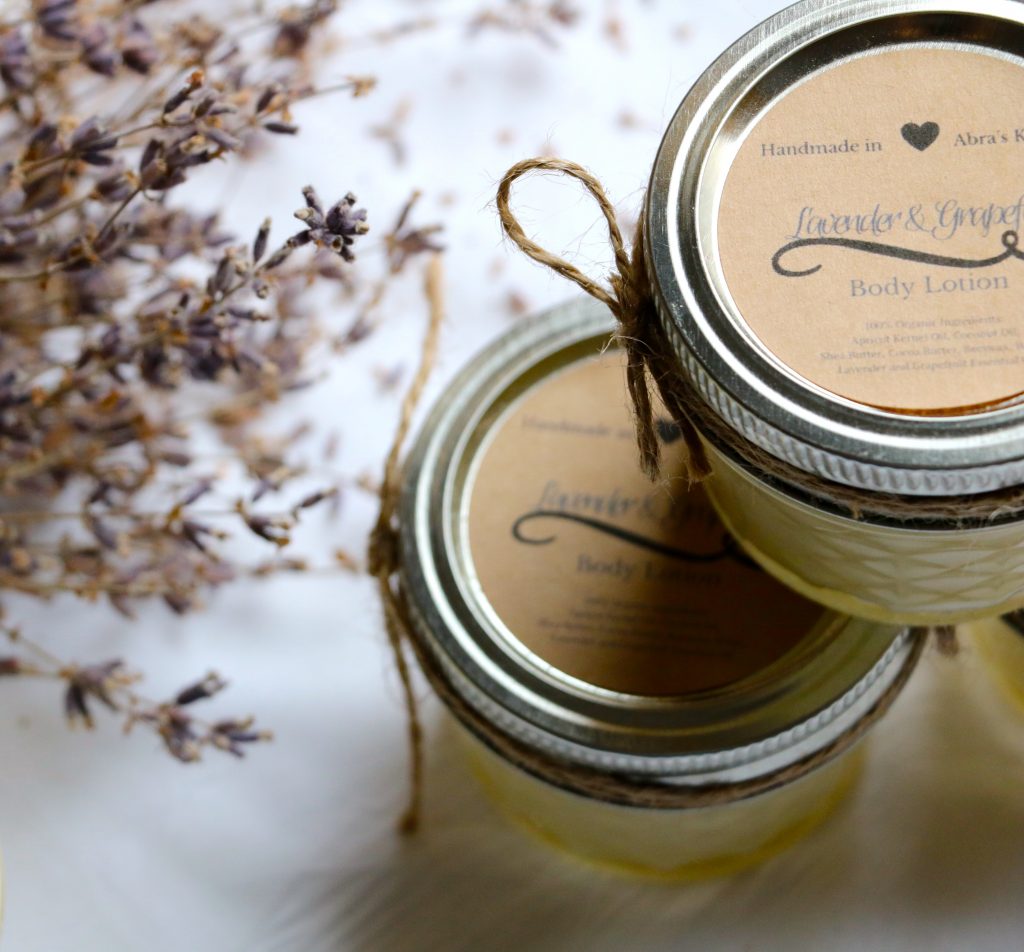
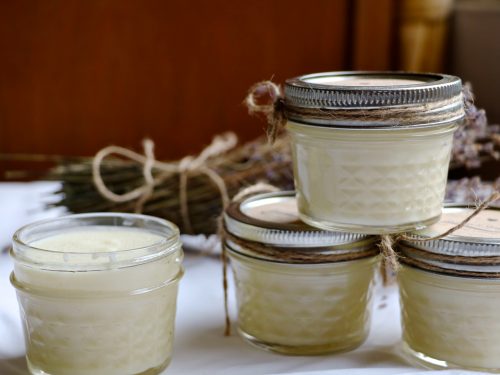
Which Jars do You Use?
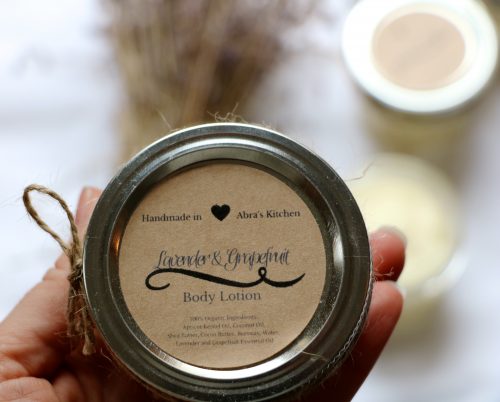
I use 4-ounce mason jars. This recipe will make approximately 24-25 four ounce jars. Since there are not any preservatives in this recipe I like to use smaller jars. I also gift nearly all of them to friends and family so I am typically only left with a 3-6 month supply, smaller jars just work better 🙂
I hope this inspires you to rethink your beauty routine and the chemicals that you may be slathering on each day. Your skin will thank you 🙂
The recipe below is for a large batch and makes about 25 – 4-ounce jars. You can reduce the amount to make a smaller batch.

(Large Batch) DIY Whipped Lavender Lotion with Coconut Oil
Equipment
- small jars
Ingredients
- 2 pounds of apricot kernel oil
- 1 pound of coconut oil
- 1 pound of shea butter
- 4 ounces of cocoa butter
- 8 ounces of beeswax
- 1 cup of distilled water
- .4 milliliter of lavender essential oil
- .4 milliliter of grapefruit essential oil
Instructions
- Combine apricot kernel oil, coconut oil, shea butter, cocoa butter and beeswax in a large bowl set over a double boiler.
- Heat on low until beeswax melts, stirring frequently.
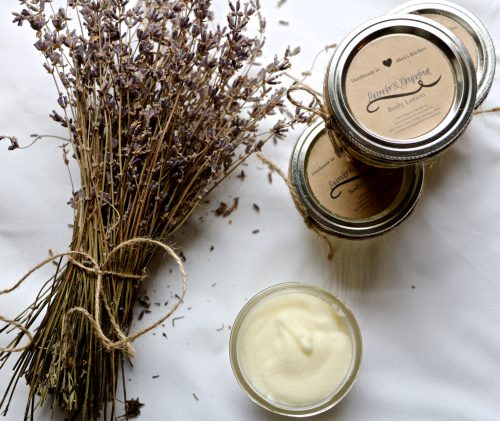
- Remove from heat and allow to cool and firm up. The lotion should change from the color of bronze (oil) to a firmer pale beige. You can place in the fridge to speed up this part of the process.
- Once completely cool, using an electric mixer on medium speed, whip the lotion until it resembles thick whipped cream, slowly incorporating the water as you whip.
- When you've reached the desired consistency add essential oils and stir to incorporate.
- Spoon into jars (I use mason jars) and use within 8 months.